Formations
Every move order is a formation order. When you call SetAgentsTarget(members, point),
the simulation lays out one slot per member, arranged behind the destination and
deepening toward where the group is coming from, then walks each agent to its own slot. This
is what makes a selection move as a coherent block instead of a single-file line or a pile.
A single-unit order (SetAgentTarget) is just a formation of one - it walks straight to the
point. A follow order is the same formation laid out behind a moving
agent instead of a fixed point.
Anchor
By default the front of the formation lands on the ordered position and the body trails back toward the crowd. That keeps the click point meaningful - the nearest unit ends up on it - and it means reinforcing a group extends the formation away from the marker instead of shuffling the units already placed.
Pass the Anchor pin to change it per order:
Crowd->SetAgentsTarget(Squad, Point, ECrowdToolkitFormationAnchor::Center);This is a per-order choice, not a setting - the same game usually wants near edge for a move command and center for a hold command.
Shapes
Set the Formation → Shape property:
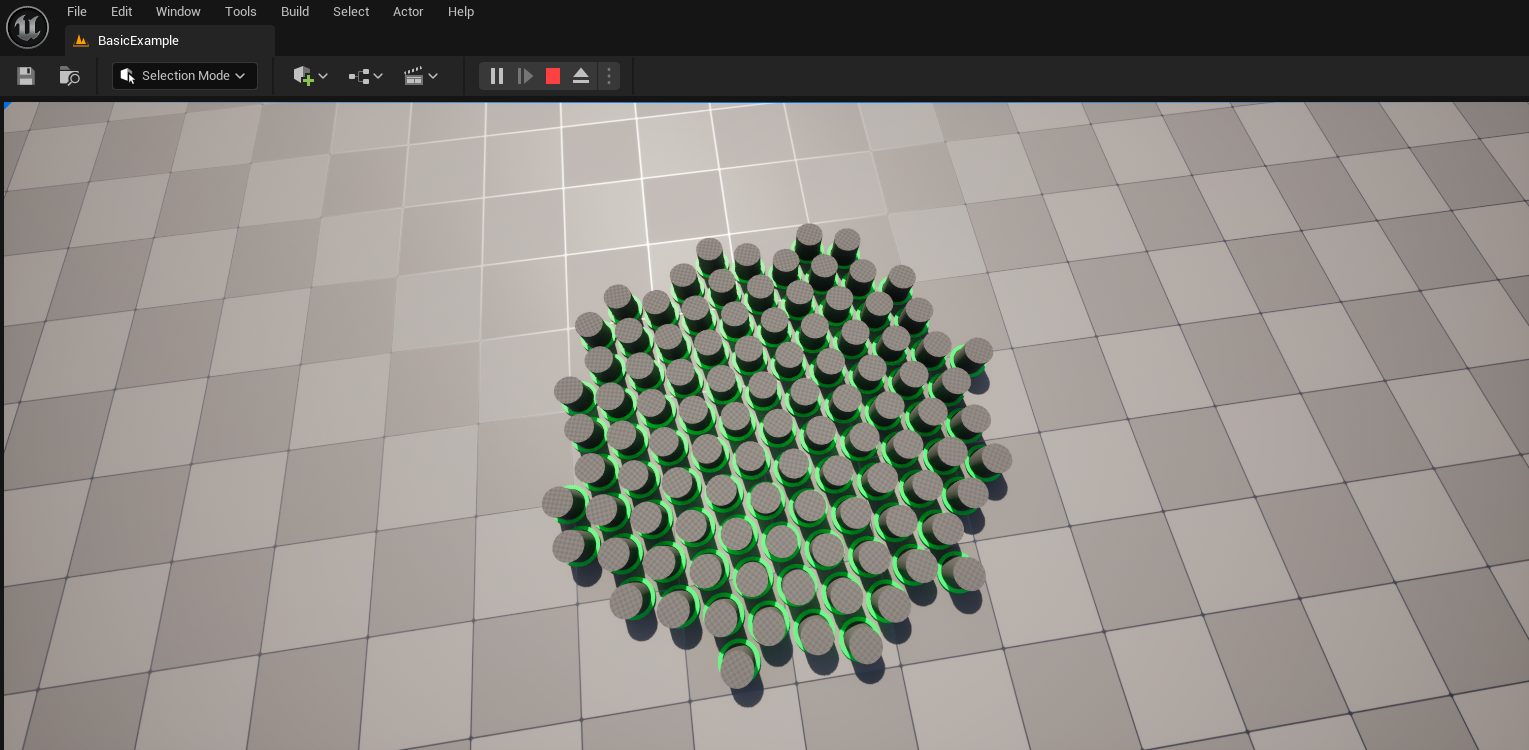
A tight, round, hex-packed clump. The default - compact and natural-looking for most groups.
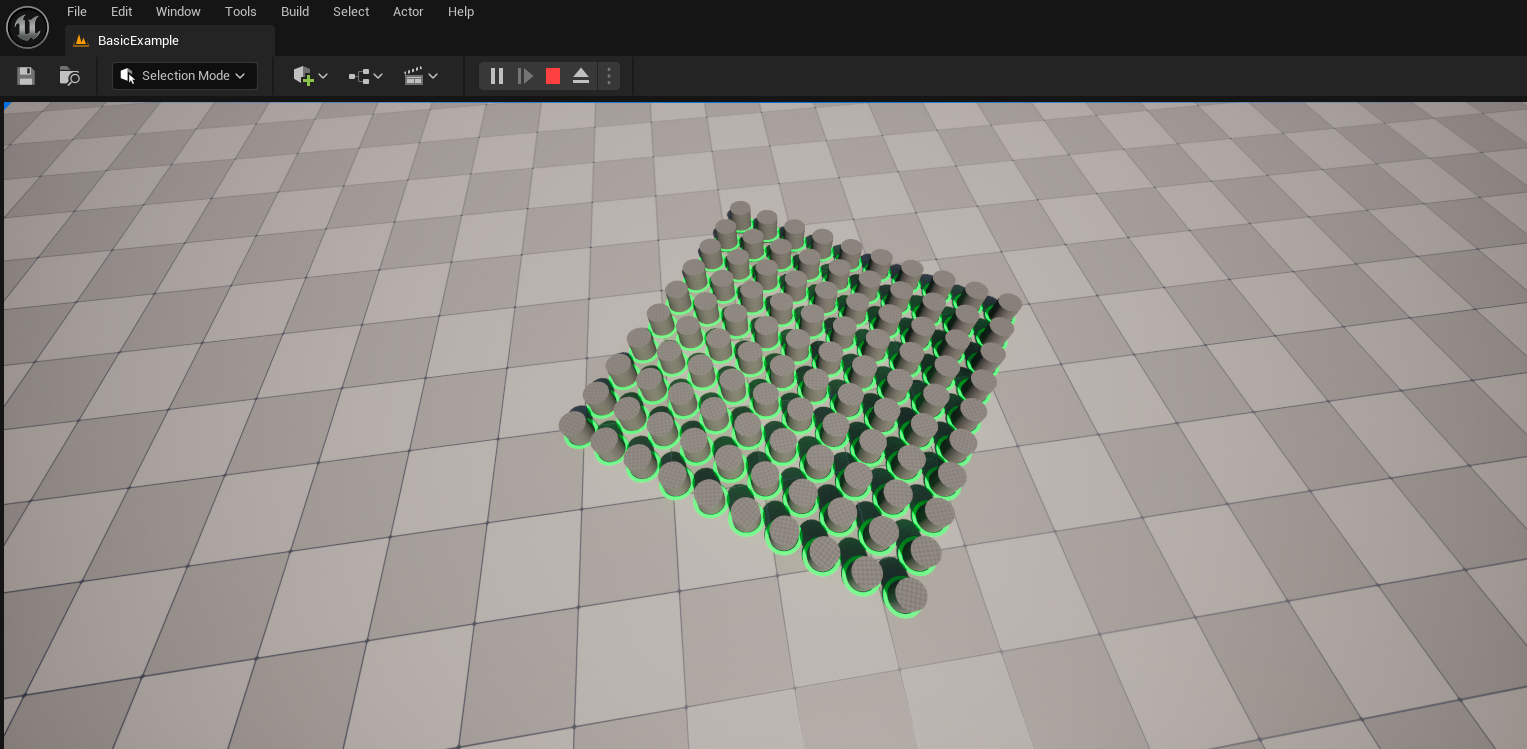
A roughly square block. Good for ordered, drilled-looking formations.
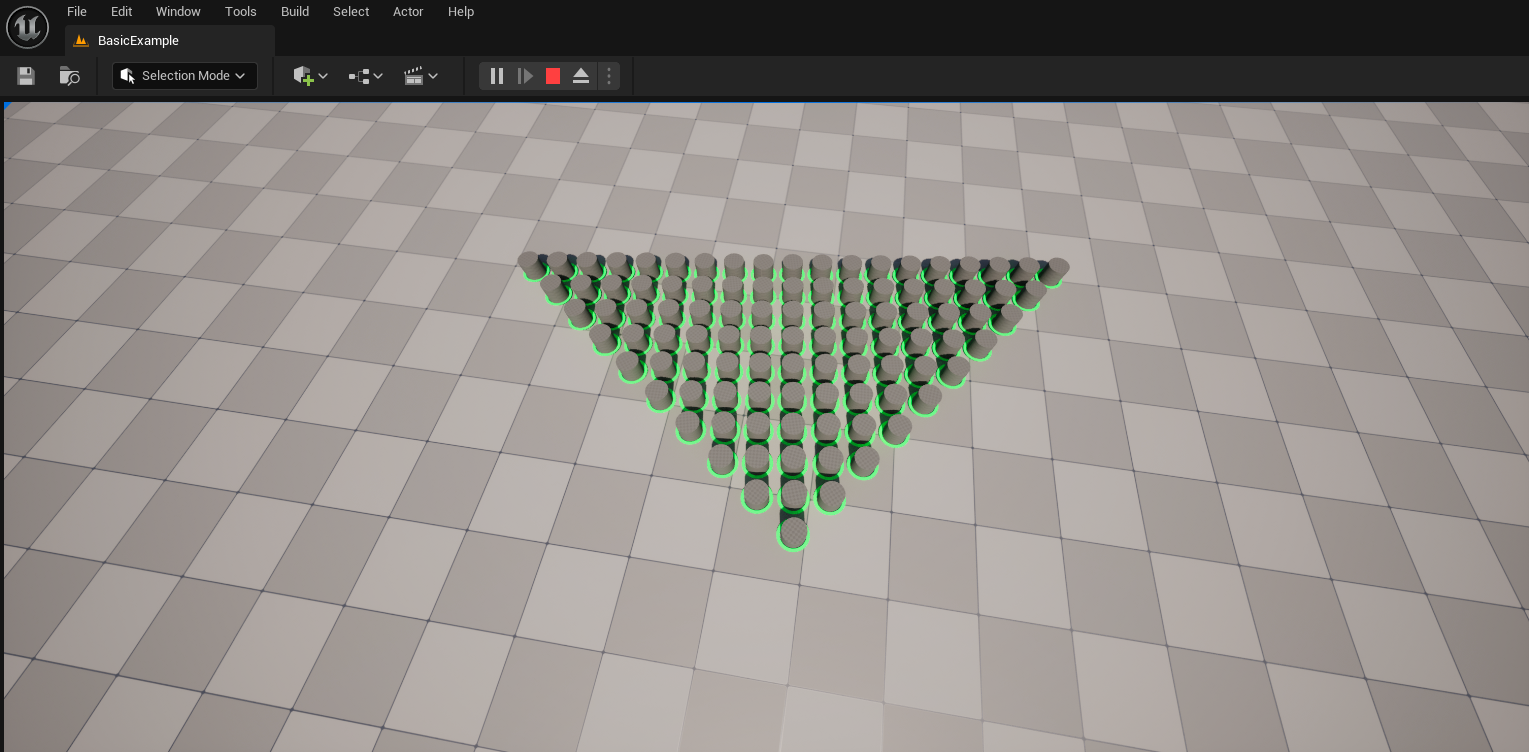
A solid triangle with its apex on the destination. Reads as an arrowhead / charge formation.
Tuning
Settling
When an agent reaches its slot (within SettleRadius) its settle latch flips on and
OnAgentsReachedGoal fires once for it. You can read the latched state at
any time:
TArray<bool> Settled = Crowd->GetAgentSettled({}); // parallel to GetAgentPositionsSettled agents still step aside for passers-by (governed by Settle Push, see
Avoidance) and then drift back, so a standing formation stays tidy as
others move through it.
TIP
Issuing a new SetAgentsTarget for agents that already have an unfinished order replaces it
and fires OnAgentsOrdersCanceled for them. This is exactly what you want
for re-pathing stuck units or redirecting a group mid-march.
Slots and walls
Slots are placed without regard for geometry first, then any that land inside a wall are moved to open ground nearby. Two things keep that tidy: if the ordered position itself is inside a wall - ordering onto a building, which is what an "attack this" command usually looks like - the whole formation is lifted clear of it first, toward the side the group is approaching from; and slots being moved out of walls stay a full Slot Spacing apart from every slot already placed, so they can't converge on the same patch of free ground.
In a space genuinely too small for the group, slots fall back to sharing ground rather than staying inside a wall, since a slot inside a wall is one the agent could never reach.
Reading the formation
All are parallel to GetAgentPositions and accept the same optional index mask.